Archive for the 'Plateful of Fun' Category

You are currently browsing the archives of Treasure Jar .

Quorn Non-Meat Grounds Recipe

We love Quorn non-meat grounds. It is like meat, only it isn’t. The texture is like meat and if cooked correctly, it doesn’t feel and taste like a non-meat ingredient. The kids and the hubby do not complain but instead say that it feels like they are eating meat, that is not meat.

Quorn is made with Mycoprotein, a fermented, natural, nutritious fungus taken from the soil. Mycoprotein is high in protein, high in fiber, low in saturated fat, and has no cholesterol. It’s texture is just like meat without the oil “sebo” effect when the cooked food turns cold.

Here are a few recipes I have made with the Quorn non-meat grounds:

Slowcooked Lasagna:

Sautéed with onions, garlic, a little vegetable oil and cooked with carrots and potatoes:

Sautéed with onion, garlic and cooked with tomato sauce and carrots: 

Sautéed with onions and garlic, cooked with fresh brown mushroom and tomato sauce. Add cooked penne pasta for a pasta meal.

Frugal Christmas: Do More with Less

How do we Do More with Less? Here are a few ways:

The holidays are almost gone and with it came wonderful memories that, as a mom, I hope will be cherished in the years to come.

Several years ago, I have started FRUGAL CHRISTMAS and our family has been practicing this ever since.

Here are a few of the Frugal Christmas practices I have done since I started though a lot of it, I have not blogged about:
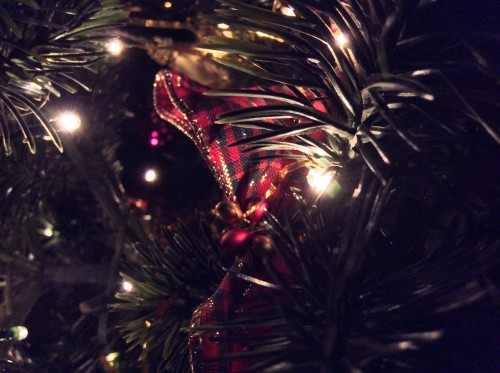
Family photo Christmas tree ornaments which started as a project back when we were still homeschooling. These ornaments still adorn the tree and we have added more updated photos.
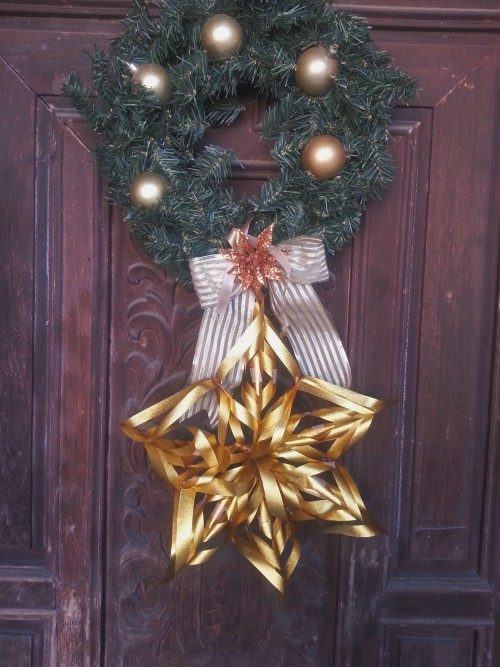
Handmade tree decorations. Children and adults as well should try this to foster bonding time, personalize their trees and unleash their creative energies. These hand-made Christmas stockings still hang from our tree this year. This year I added a 3D Christmas tree made of gold tinsel to the Christmas wreath I decorated hanging on our front door. The excess tinsel was used to wrap gifts.

3D Christmas star

Japanese paper as gift wrapper. You can choose any color you like depending on the theme of your gifts. This year, I used yellow Japanese paper with gift tags made by one of the children.

homebaked cookies
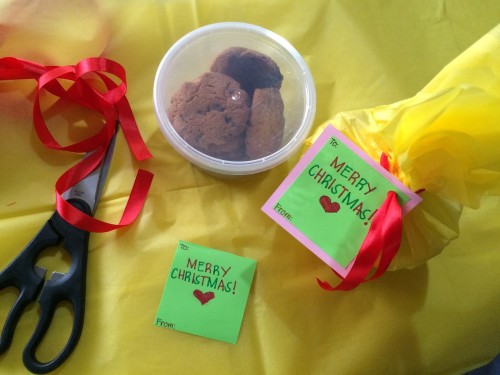
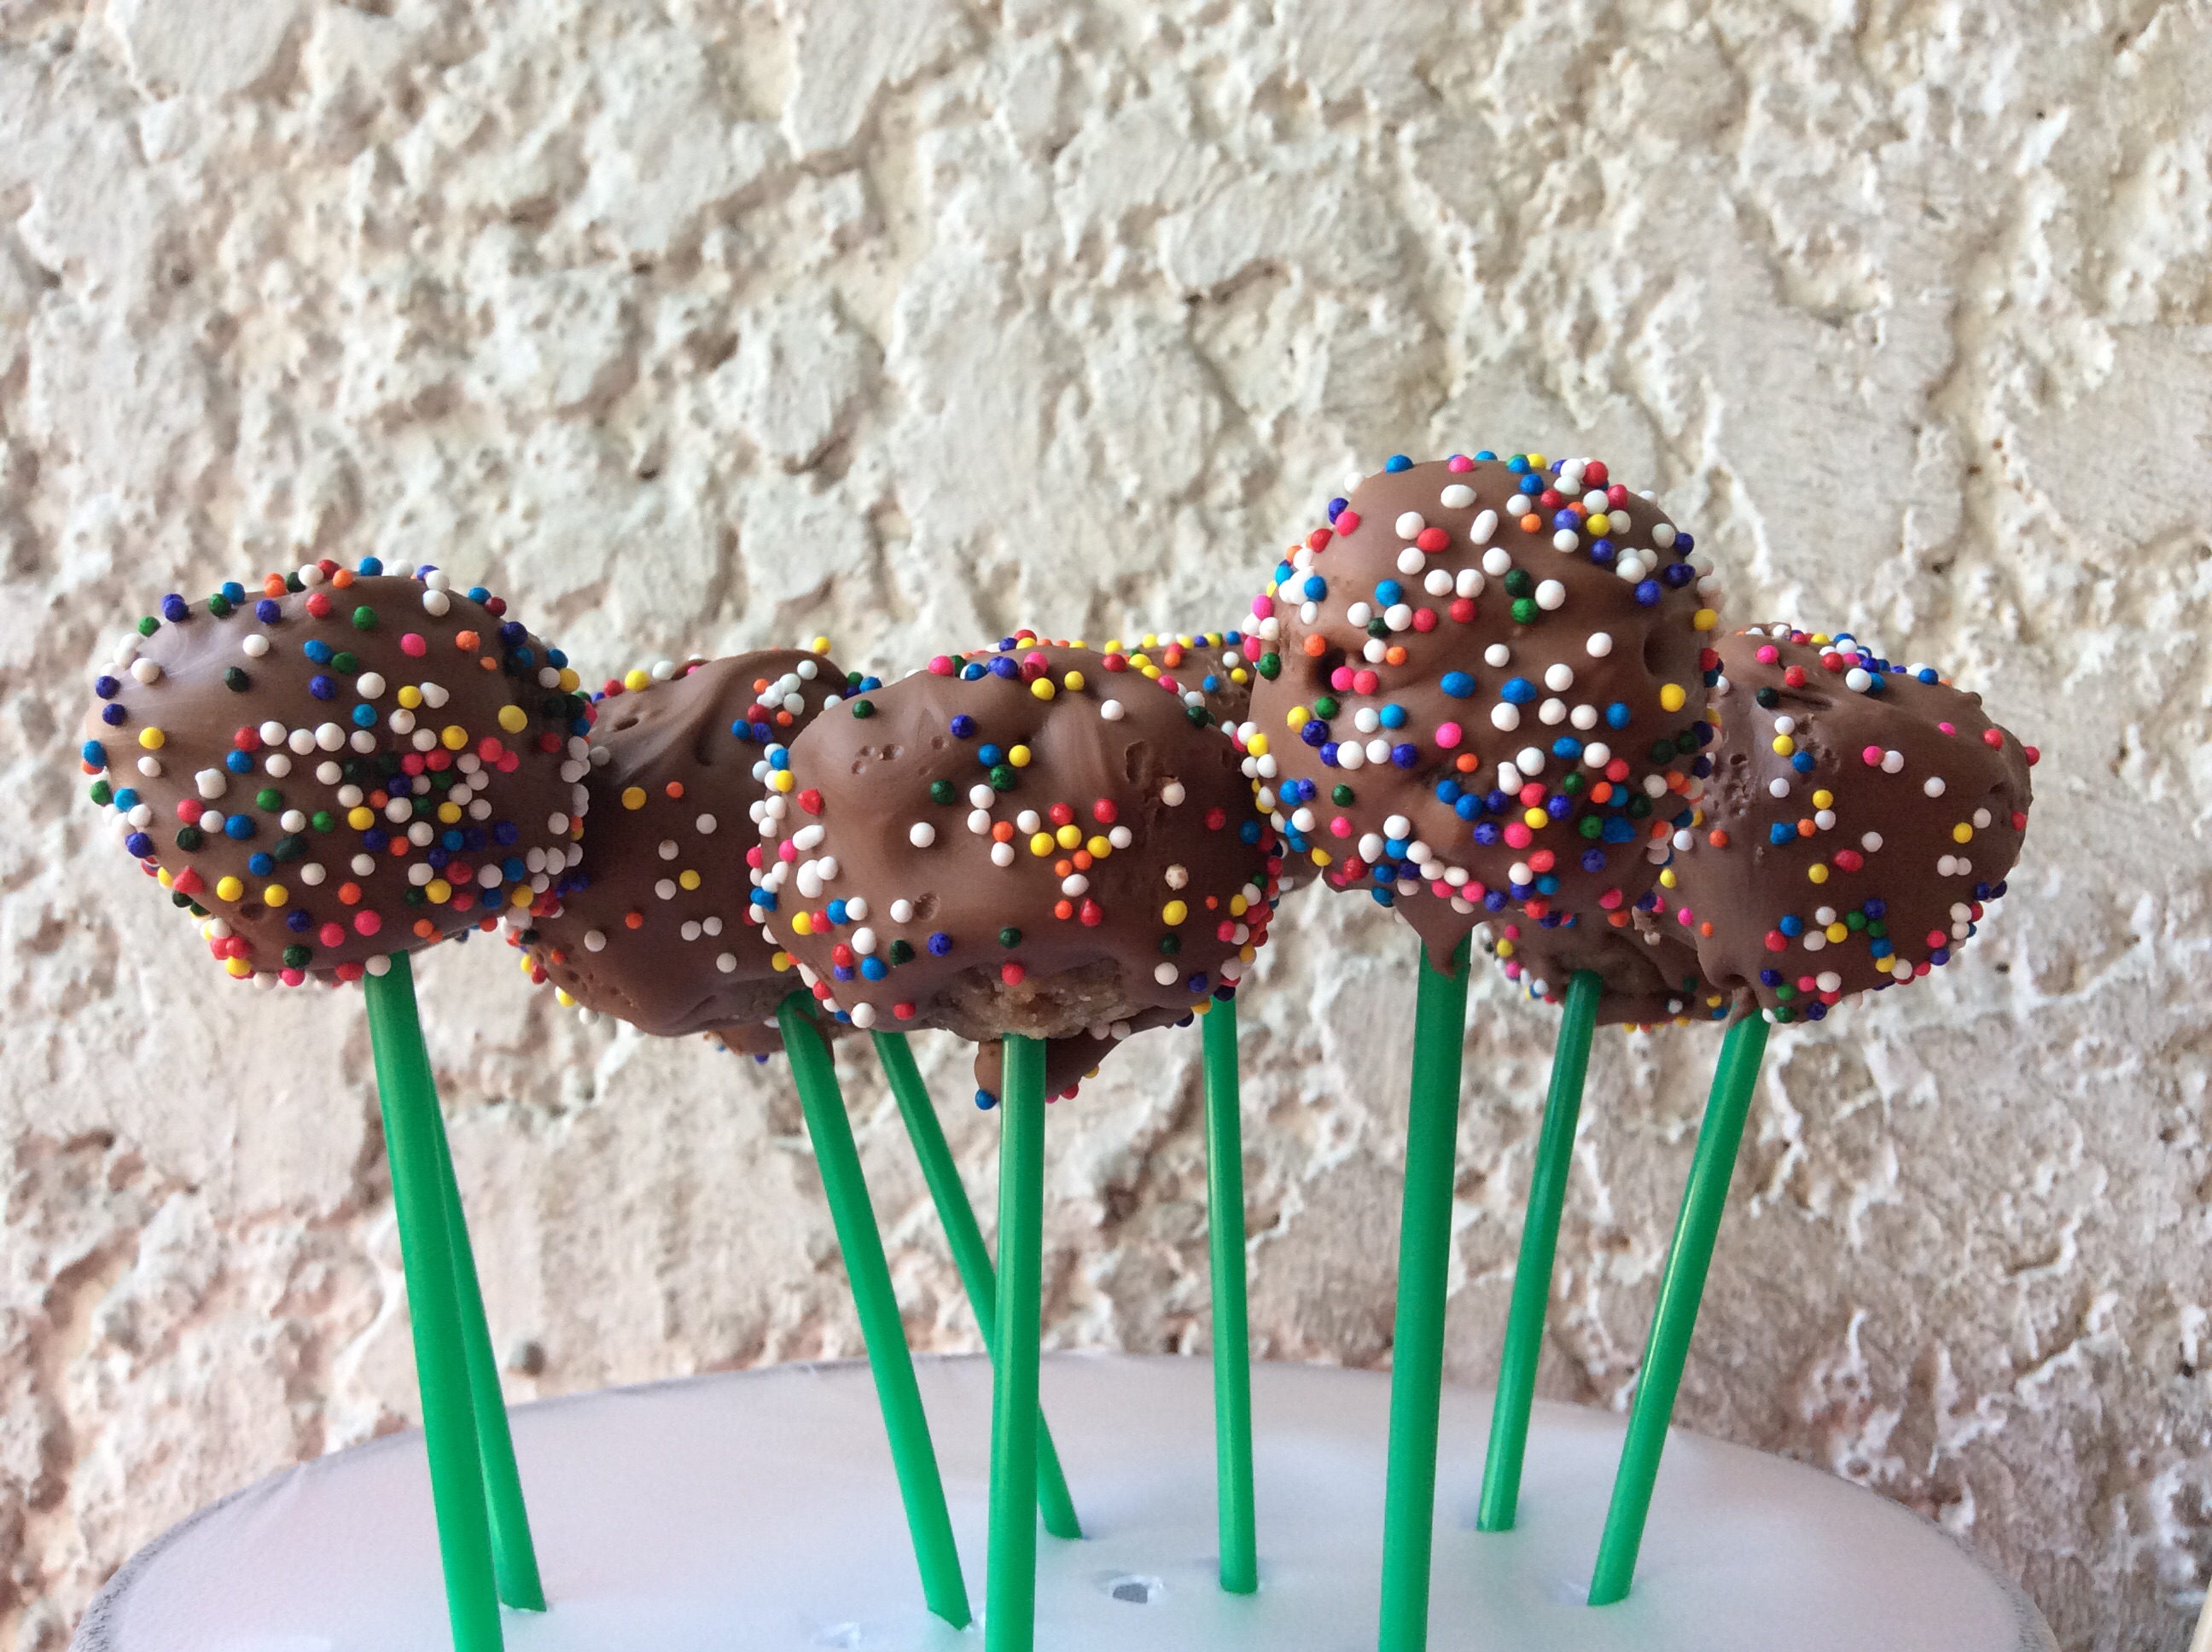
• Baked goods wrapped in yellow Japanese paper with personalized gift tags. Since we bake at home, it has been our practice to give baked goodies to friends. (see photo above)
Personalized gift tags. You can either print these yourself or make from scratch. We always opt for the latter.
• If you love going to bookstores and bookstores that sell bargain books, then you can spend a little time scouring bargain books to give to book-loving people.
Hand-made gold ribbons hang on our tree every other year. These have seen a lot of Christmases and hang alternately every year with the red ribbons. This year, we are having the red ribbons.

red ribbons
Hand-made notepads. The last two years had us made notepads to give to the children’s friends. These were made during times when they have “nothing to do”. They also assembled these while watching their favorite videos on their gadgets.
• For this year’s Christmas, everything we served for the Noche Buena were home-cooked or home-prepped:
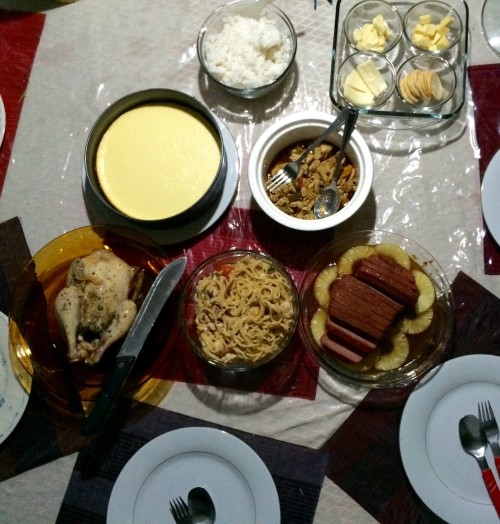
noche buena
o Baked ham
o Chicken pasta and chicken fajitas (blog post coming up soon)
o Slow-cooked chicken
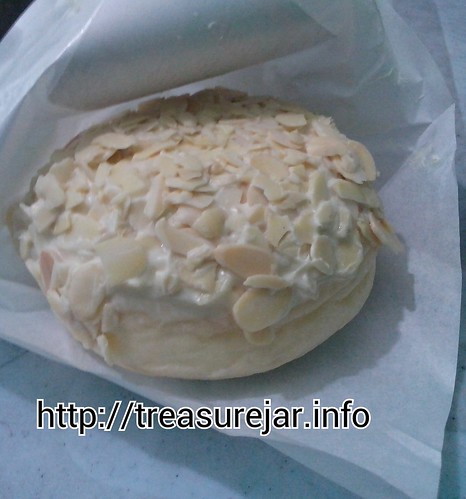
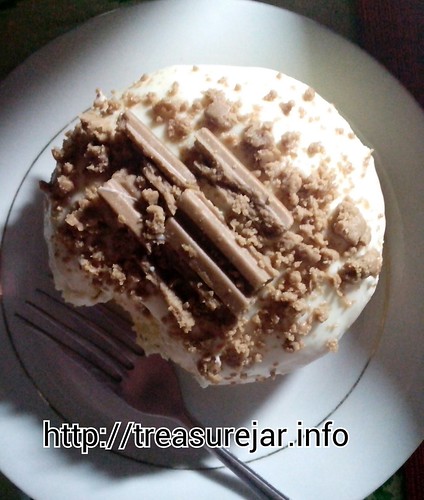
o Cheesecake
o Cheese platter

blueberry cheesecake

Blueberry cheesecake by the eldest child finally sliced and tasted, a day after Christmas! This is easy to make and you spend less than if you buy commercially baked ones.

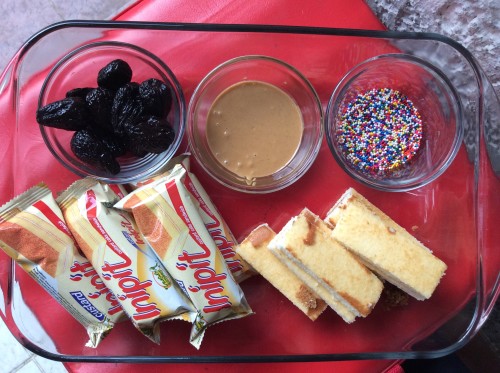
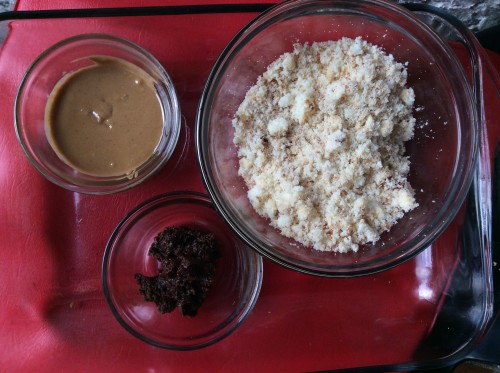
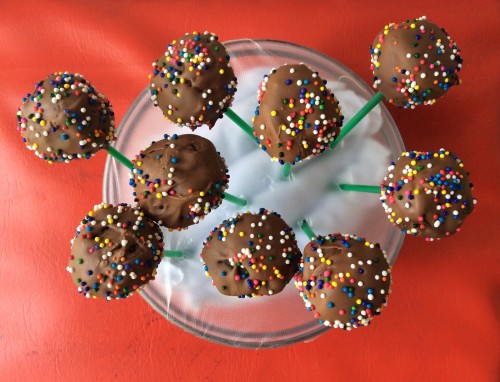
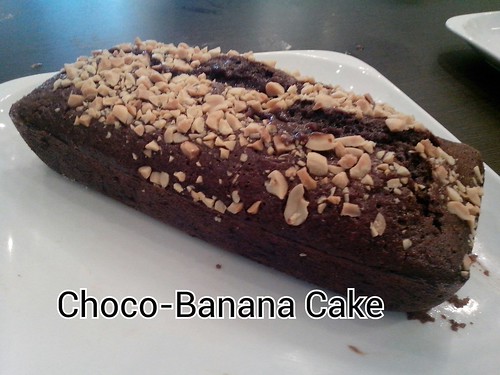
For our family reunion Christmas lunch, we brought slow-cooked ribs and the eldest child made brownies. Easy-peasy prep, right?

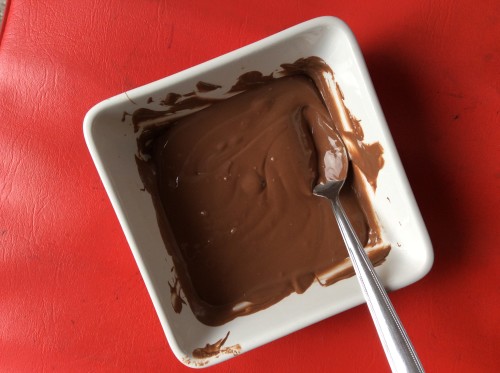
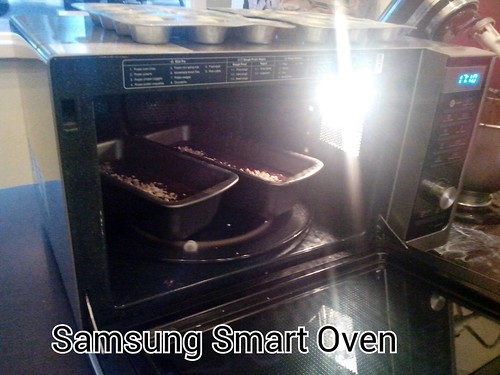
Photo below is the Electrolux microwave being used to melt chocolates for the brownies.

I know the list is getting longer so I will stop. Finally, yes!

What do all these things mean for “Do More with Less” when it feels like there is so much to do with all the crafts that involve conceptualizing, cutting and pasting and with the baking and cooking tasks?


All these tasks, we do not do year after year. For the tree decorations, since we have plenty of these (and hand-made too!) we alternate what we put up on the tree. Buying Christmas tree decorations every year is not something we do since we already have at home. Baking goodies for family and friends is what we love to do and for the last three years, the children are tasked to do these, making me have more time to do other chores. The personalized gift tags are easy to make because we have been doing this for several years already.

We “Do More with Less” by planning ahead, making lists and following up on schedule to avoid the hustle and bustle of the season.  The gift packs for the village guards and Noche Buena packages for the families of Manang Salve (who helps clean the backyard) and Joey (our occasional DIY guy) have been distributed a day or two before Christmas Eve. Christmas and New Year’s Eves are not main worries because we already have the things that needed on-hand and so we don’t have to join the rush to purchase what was not bought and getting stressed caught up on long supermarket queues and traffic jams.

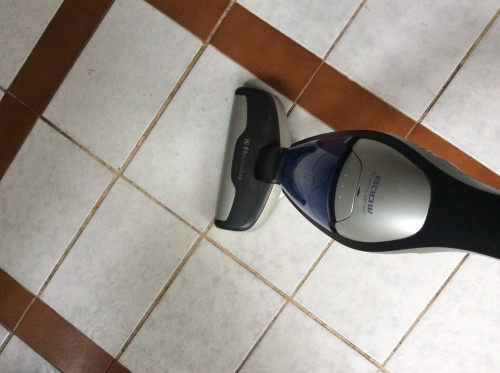
We “Do More with Less” investing in reliable appliances like Electrolux that make chores easier so we don’t see housework as burdens. Our Electrolux Vacuum Cleaner is something the kids use by themselves. This is the youngest child’s task: cleaning the area where the puppy stays.

cleaning the floor

We “Do More with Less” by giving more importance to tasks that foster spending time with our loved ones.

Aside from not spending too much money, the family also tends to give importance in having more time bonding because we are all working together to make wonderful Christmas memories that we will look back with fondess, joy and love.

Do More with Less” everyday, it is good for the mind, body and spirit.

No-Bake Choco-Nut Cake Pops

I have always wanted to make Cake Pops but I was apprehensive because I didn’t want to bake a cake only to crumble it to make these Cake Pops. So when the opportunity to join “Sarap maging kid with Inipit” or  #NoLimitWithInipit Contest was sponsored by Nuffnang, I decided to join using Inipit’s Custard Cake Sandwich as my cake base.

To make the Cake Pops healthier, I used Dried Figs and a local brand of all-natural and not so sweet peanut butter to hold the crumbled cake together instead of the usual shortening or jam or even chocolate-based spread. For the melted chocolate, I used semi-sweet chocolate. Maybe next time I will use dark chocolate instead to lessen the sweetness in the recipe. My children absolutely loved it but said it was a tad sweet for them. They are not used to eating too sweet and too salty food that’s why.

Anyway…

Ingredients:

  • 5 pcs Custard flavor Inipit
  • 5 pcs Dried Figs
  • 1/3 cup local brand all-natural peanut butter
  • 1/2 pack of semi-sweet baking chocolate
  • rainbow candy sprinkles

Procedure:

crumbled Inipit

Crumble the custard inipit until almost powdery in consistency.

Put the figs in a food processor and mix till it has a pasty consistency.

Add the peanut and the figs to the crumbled custard Inipit.

Chocolate-Nut Balls

Make small balls and freeze for an hour or two.

Melted chocolate

Melt the chocolate in the microwave using 1 minute/medium heat cycles. After every minute, get the microwaveable container and mix the chocolate. Repeat till all the chocolate pieces are melted and smooth.

Get the frozen choco-nut balls and insert a straw halfway in each of the balls.

Use a spoon to drip melted chocolate on the frozen choco-nut balls. Turn the straw around so that the excess chocolate will drip back in the bowl.

Sprinkle with rainbow candy sprinklers.

image


Put the Choco-Nut Cake Pops on a stand like a styro to dry. I used a baking bowl, put some clean and unused table rags inside, covered with an elastic plastic cover and inserted the straws through the plastic cover.

image


Presenting the No-Bake Choco-Nut Cake Pops with Inipit Custard Cake Sandwich as the base cake. I was able to make 13 No-Bake Choco-Nut Cake Pops. So easy to make!


Pan de Donuts from Pan de Manila

We are regular customers of Pan de Manila Mindanao Avenue Branch. Aside from pandesal, we enjoy the cheese bread and the ensaimada.

These days, we also buy Pan De Donut from them. Priced at Php38/piece, less if you buy more than one, even I have a difficult time finishing a piece. I have to share with one of the kids because the Pan de Donuts are heavy. Made with soft baked bread, a combination of pandesal and donut, without the pandesal crunch and “powdery” crumbs, these Pan de Donuts are not just delectable but soft, not too sweet (am talking about the bread itself and not the toppings) and so filling. Aside from the toppings, these is a not too sweet filling inside the bread that oozes out every time you bite into it.

Pan de Donut Chocomonds (pardon the grainy photo)

Pan de Donut

In the box, clockwise from L upper corner: ChocNut Crumble, Nippy Nips, Piling Pili, and Cocojammers.

Pan de Donut assorted flavors

This ChocNut Crumble was shared between my daughter and I.

Pan de Donut ChocNut

Best eaten with brewed coffee or cold milk. My kids have these with smoothies.

~~~~~~~~~~~~~~~~~~~~~~~~~~~~~~~~~

Since it has opened several years ago, there rarely goes a week that we do not buy pandesal from Pan de manila Mindanao Avenue branch. For sure every Saturday we do because I need to bring a few pandesal with me to go to work to “bribe” a student to work well.  Anyway, another post will be coming up about a complaint we have which actually didn’t just happen this week but has happened a few months back.

Posted by Treasure Jar on Nov 1st 2014 | Filed in Bonding Time,For Little Hands,From the Admin's Desk,FYI,Plateful of Fun,Reviews | Comments (0)

Samsung Smart Oven : Choco Banana Cake

One of the recipes we enjoyed tasting during the Samsung Digital Appliance Saturdate with Mom event that my youngest child and I went to was Chef Jaq’s Choco Banana Cake baked in a Samsung Smart Oven.

Chef Jac's Choco Banana  Cake

We love putting bananas and chocolate in baked goodies, like this Banana, Oats and Chocolate Chips Bread we bake at home.

Samsung Smart Oven

Here is recipe of the Choco Banana Cake by Chef Jaq Laudico baked in a Samsung Smart Oven:

Ingredients:

  • 600grms apf,
  • 50 g cocoa powder
  • 48g baking powder
  • 8g baking soda
  • 1200 g coco sugar
  • 125ml oil
  • 375 ml water
  • 150 gm butter
  • 600g banana
  • 83.3g milk

How to Prepare:

  • Sift together cocoa powder, flour ,baking powder ,baking soda
  • Add sugar water and oil . Mix well
  • Add the bananas and milk
  • Pour into a loaf pan
  • Top with roasted nuts
  • Bake 20 minutes 200 c on preheated convection setting in the Samsung Smart Oven

 More photos here.

Samsung Smart Oven: Chef Lau’s Chicken Katsudobo Recipe

My daughter and I recently attended Samsung Digital Appliances event called Saturdate with Mom. This is by far one of the better events I have been to, because I was able to bring my youngest daughter with me who, along with other kids, immensely enjoyed watching the chefs husband and wife, the Laudicos, whip up delicious food using the Samsung Smart Oven.

Chef Lau and the Kids during Samsung DA cooking demo

And yes, we want one for our home and I’m sure, the food blog will have more entries 😀

Anyway, one of the dishes prepared was Chef Lau’s Chicken Katsudobo:

Chicken Katsudobo
My not so clear photo.

Ingredients:

  •  600 grams Boneless Chicken Thigh


For the Adobo marinade:

  • 1 cup Soy Sauce
  • 1/2 cup Coconut Vinegar
  • 1 cup Water
  • 4 tbsp. Garlic mince
  • 4 Bay Leaves
  • Pinch black peppercorns

For Katsu Coating:

  • 1 cup Flour
  • 2 Whole Eggs beaten
  • 1 cup Panko Bread Crumbs
  • 3 tbsp Extra Virgin Olive Oil or any healthy cooking oil


For the Katsudobo:

  • 4 Bowls of Cooked Rice ( please use Microwave safe bowl)
  • 4 Eggs (Whole, raw)
  • Simmered Left Over Adobo Sauce
  • Cooked Katsudobo Chicken (sliced in thick strips)
  • chopped spring onions (garnish)

How to Prepare:

  1. Marinate chicken overnight or at least 5 hours. Simmer left over adobo marinade for at least 5 minutes. Coat adobo marinated chicken with Katsu coating
  2. Lightly Coat chicken with flour then dip in beaten egg and coat with panko breadcrumbs. Brush lightly with Extra Virgin Olive Oil.
  3. Put chicken skin side down on the non-stick plate of the Samsung smart oven on top of the low rack. Set Samsung Smart Oven to Slim Fry until you see number 8 setting. Press start and cook chicken 15 minutes one side then turn the other side after 15 minutes for 30 minutes total. Assemble the Katsudobo
  4. On the Rice Bowl add the adobo sauce around the bowl then break the whole egg on the rice.
  5. Set Samsung Smart Oven to microwave 700 watts then cook for 4-5 minutes or until egg is cooked but still soft.
  6. Top with Cooked Chicken Katsudobo then top with chopped spring onions. serve hot!


More  photos here.

Next »